Make a Homemade Dog Paw Ornament and Create a Memory
I’ve been wanting to make a homemade dog paw ornament the past few Christmases, but never took the time to do it. Rambo is 11 now, so I if I’m going to make ornaments from his paw prints, I better do it now. I also have a new puppy named Cooper, and it will be cute in a few years to look back and see his tiny dog paw print ornament.
I found you could buy a paw print Christmas ornament kit on Amazon for a few bucks, but I decided to make my own clay instead. I have three dogs in total, and I wanted to be sure I had enough clay to do everybody and have extra just in case of operator error.
I made salt dough ornaments when I was a kid, but I didn’t really like how they turned out. I remember them being brown, and curling up around the edges. I wanted a no-bake white dough recipe. I found this one on a blog called Full of Great Ideas and it’s just what I was looking for. This paw print ornament recipe gets two thumbs up!
Let’s Make Your Homemade Dog Paw Ornament!
Supply List:
- Baking Soda
- Cornstarch
- Paint Pens
- Clear Sealant Spray
- Straw
- Aluminum Foil
- Ribbon or cord for hanging
*You can use paints and a paintbrush, but I love paint pens! Pens let me have so much more control than with a brush, plus they’re a lot easier to write with.
I consider the Mod Podge sealant a necessity. If you don’t seal your ornament, it won’t last long because it will draw moisture and mold. Please do not skip this important supply!
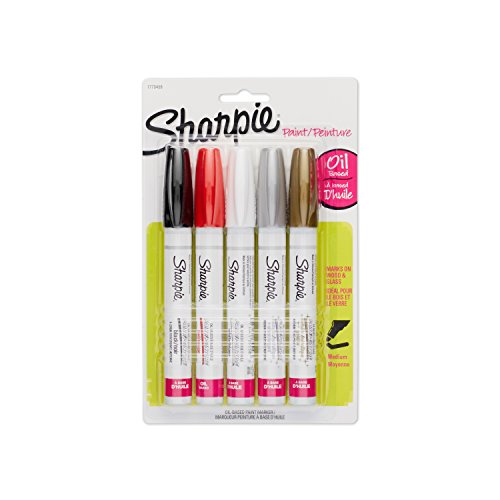
Paint Markers, Medium Point, 5-Pack, Assorted Colors with Metallics Plaid Mod Podge 1469 12-Ounce Clear Acrylic Sealer, Matte
&
Homemade Paw Print Ornament Recipe
Ingredients:
2 Cups Baking Soda
1 Cup Cornstarch
1 1/4 Cup Water
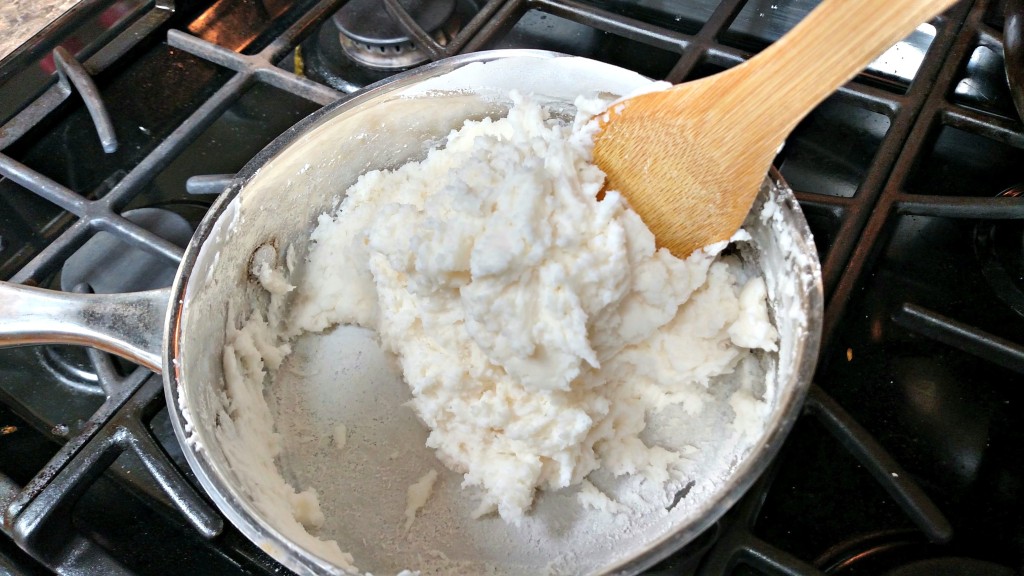
In a saucepan, stir all ingredients together and mix well. Once it’s a pasty consistency, move pan to the burner and cook on low heat. You must stir it CONSTANTLY! You’ll know it’s ready when it forms a ball like this:
Remove from heat and cover with a damp paper towel and let it cool. This stuff is hot, and it takes a while for it to cool off. When it’s cool enough to handle, knead the dough really well.
Now it’s time for the fun part! To keep things from sticking, I used a piece of aluminum foil to roll out the ornaments. I ended up covering a cutting board with foil. Worked like a charm! Don’t try to roll out a whole sheet of dough like you would with cookies. It’s best to work with just enough dough to make one ornament at a time.
Roll the clay dough out to 1/4 inch or so thickness.
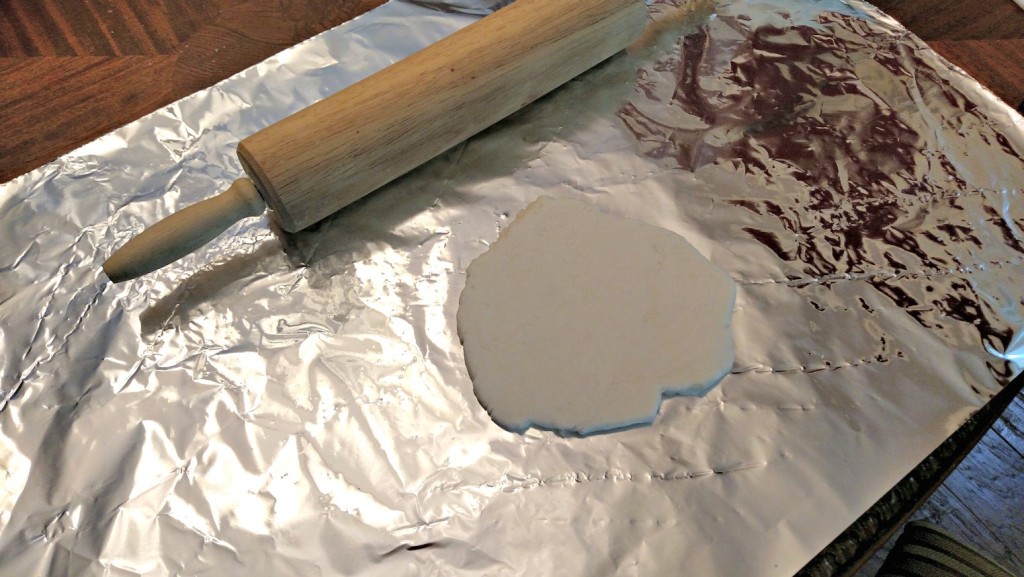
Don’t try to cut out circles yet! Trying to aim your dog’s paw in the middle of a small circle is just about impossible. Press your dog’s paw into the dough, then center a glass or a pretty cookie cutter over the paw. I did my three dogs, but Rambo decided to be my model for this post. 🙂
Dachshunds like to dig, and I forgot about that. I didn’t clean his feet first, so we had dirty paw print ornaments. Wash those paws!
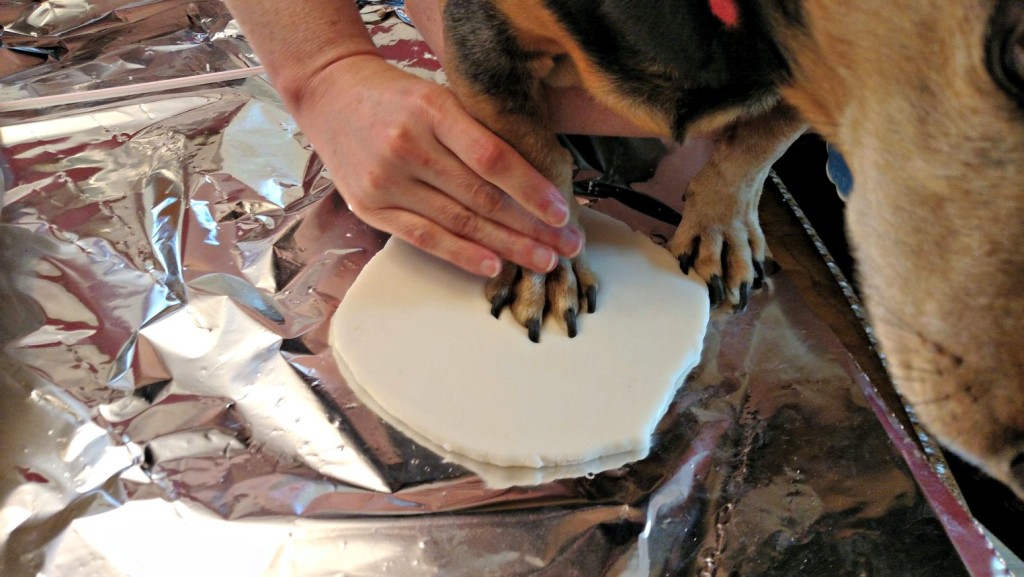
After you’ve pressed your dog’s paw and cut it out, use a straw and poke a hole at the top for the hanger to go through.
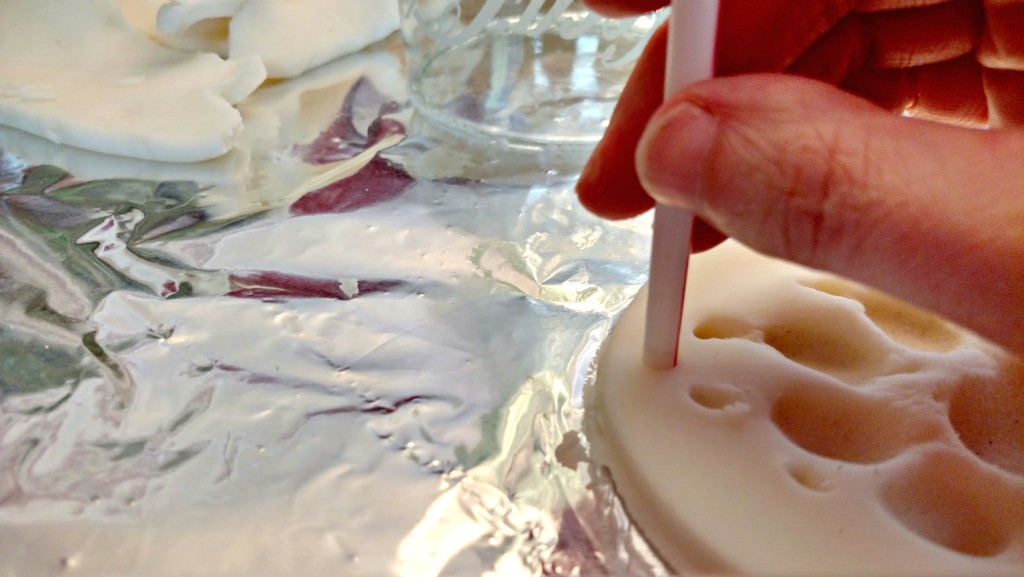
Set the ornaments aside to dry overnight, flipping them occasionally to make sure both sides dry.
If you want to bake them instead: Preheat oven to 325 F. Place your ornaments on a parchment lined cookie sheet, or use your Silpat. Bake for 3o minutes, watching to make sure they don’t get too brown.
After they’re dry (using either method):
Spray your ornaments with clear sealant spray to keep them from drawing moisture and molding. Let dry. Now it’s time to decorate!
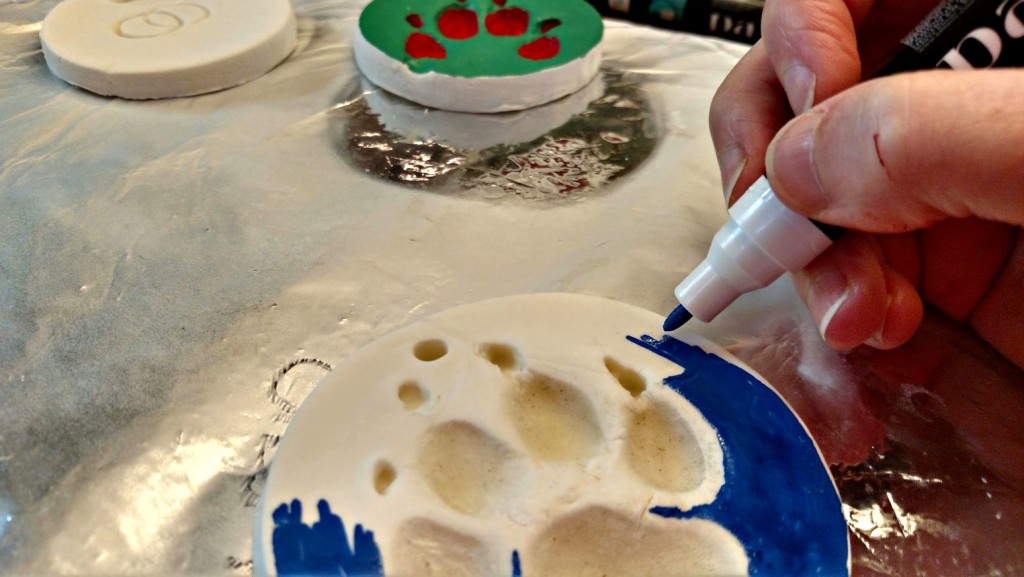
Leave them white, or color them however you like. Don’t forget to add their name and the year while you’re at it. Spray again with the sealant and let dry. Now your homemade dog paw ornament is tree ready!
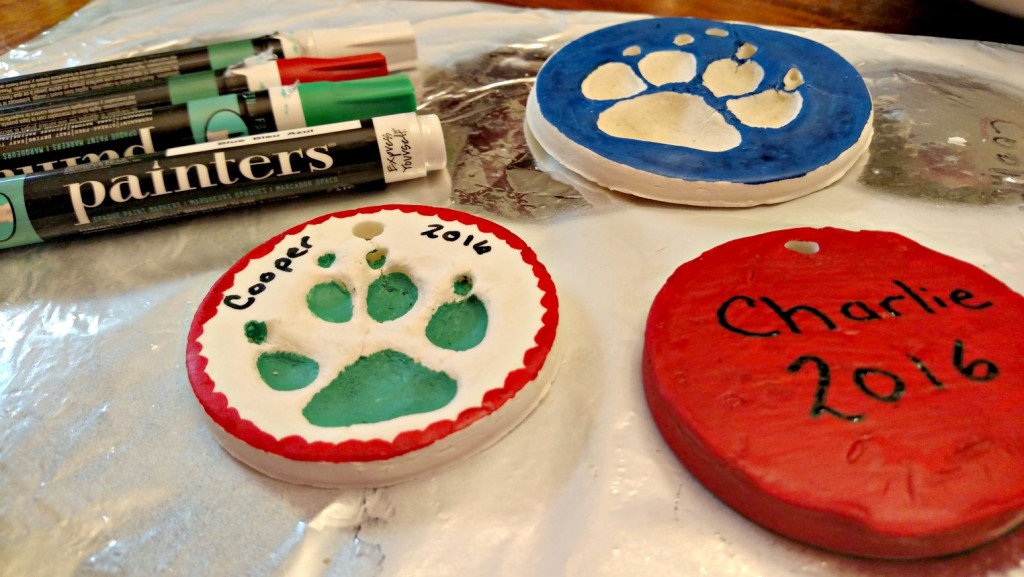
So I’ve officially turned into the crazy dog lady. My son is grown, and I now do crafts with my fur babies. 🙂 But I don’t care. For a small amount of time (and even less money) I now have a little piece of my best friends with me, and I’ll have it even after they’ve passed away.



Leave a Reply